Location Management
Overview
This guide provides detailed instructions for selecting server locations within the application. The VPN features allow you to connect securely to different locations using various protocols. This includes how to choose locations, refresh the locations list, and sort them according to your needs.
Locations Screen
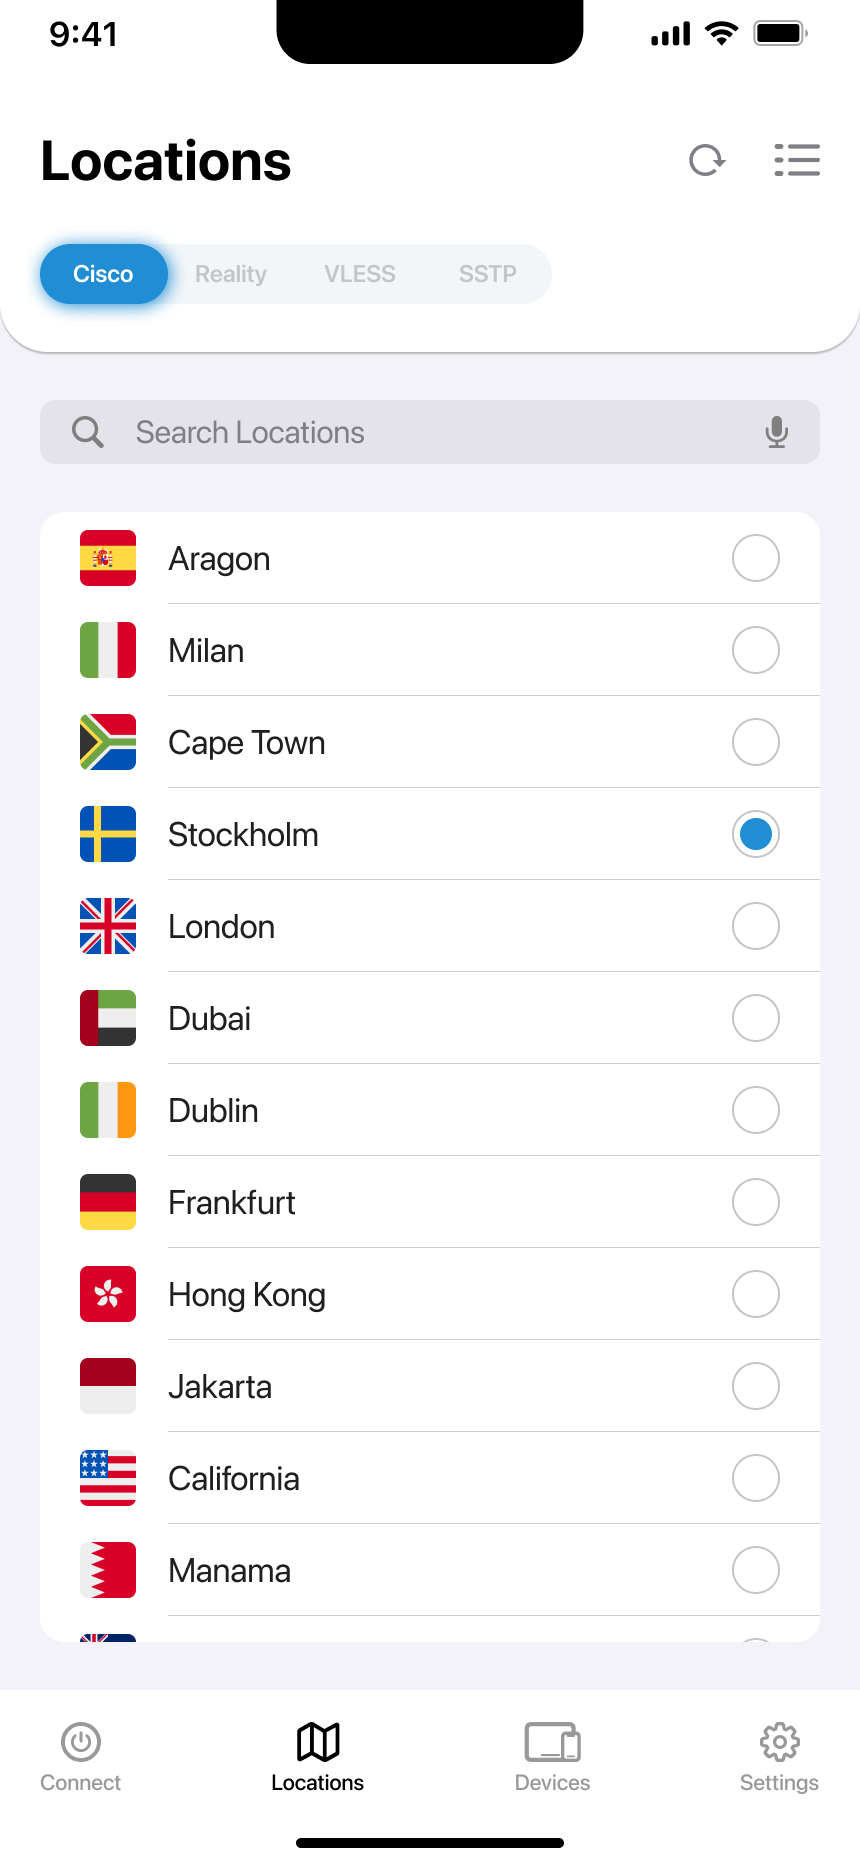
The Locations screen allows you to select the location for your VPN connection.
Components of the Locations Screen
-
Connection Types:
- Cisco, Reality, VLESS, SSTP: Tabs for selecting different VPN protocols. The active protocol is highlighted (e.g., Cisco).
-
Search Box:
- Search Locations: Use the search box to quickly find specific locations by typing keywords.
-
Location List:
- Locations: Displays a list of available locations with flags and names (e.g., Aragon, Milan, Cape Town). The currently selected location is indicated by a filled circle.
-
Refresh Button:
- Refresh Locations: Tap the refresh icon (↻) to update the list of locations. This is useful if servers have been added or removed since you last opened the app.
-
Sorting Button:
- Go to Sorting: Tap the sorting icon (≡) in the top right corner to go to the Sorting screen, where you can organize the list of locations.
-
Navigation:
- Connect, Locations, Devices, Settings: Bottom navigation tabs for accessing different app features.
How to Use the Locations Screen
-
Select Protocol:
- Tap on the desired protocol tab (Cisco, Reality, VLESS, SSTP) to filter locations for the selected VPN protocol.
-
Search Locations:
- Type in the search box to find a location quickly.
-
Refresh Locations:
- Tap the Refresh Icon (↻) to update the list of available locations. This ensures you have the latest server options.
-
Choose Location:
- Tap on the desired location from the list to select it for the VPN connection. The selected location will be marked with a filled circle.
-
Sort Locations:
- Tap the Sorting Icon (≡) to go to the Sorting screen and organize the list of locations.
-
Navigate the App:
- Use the bottom navigation tabs to explore other sections of the app such as Connect, Devices, and Settings.
Sorting Screen
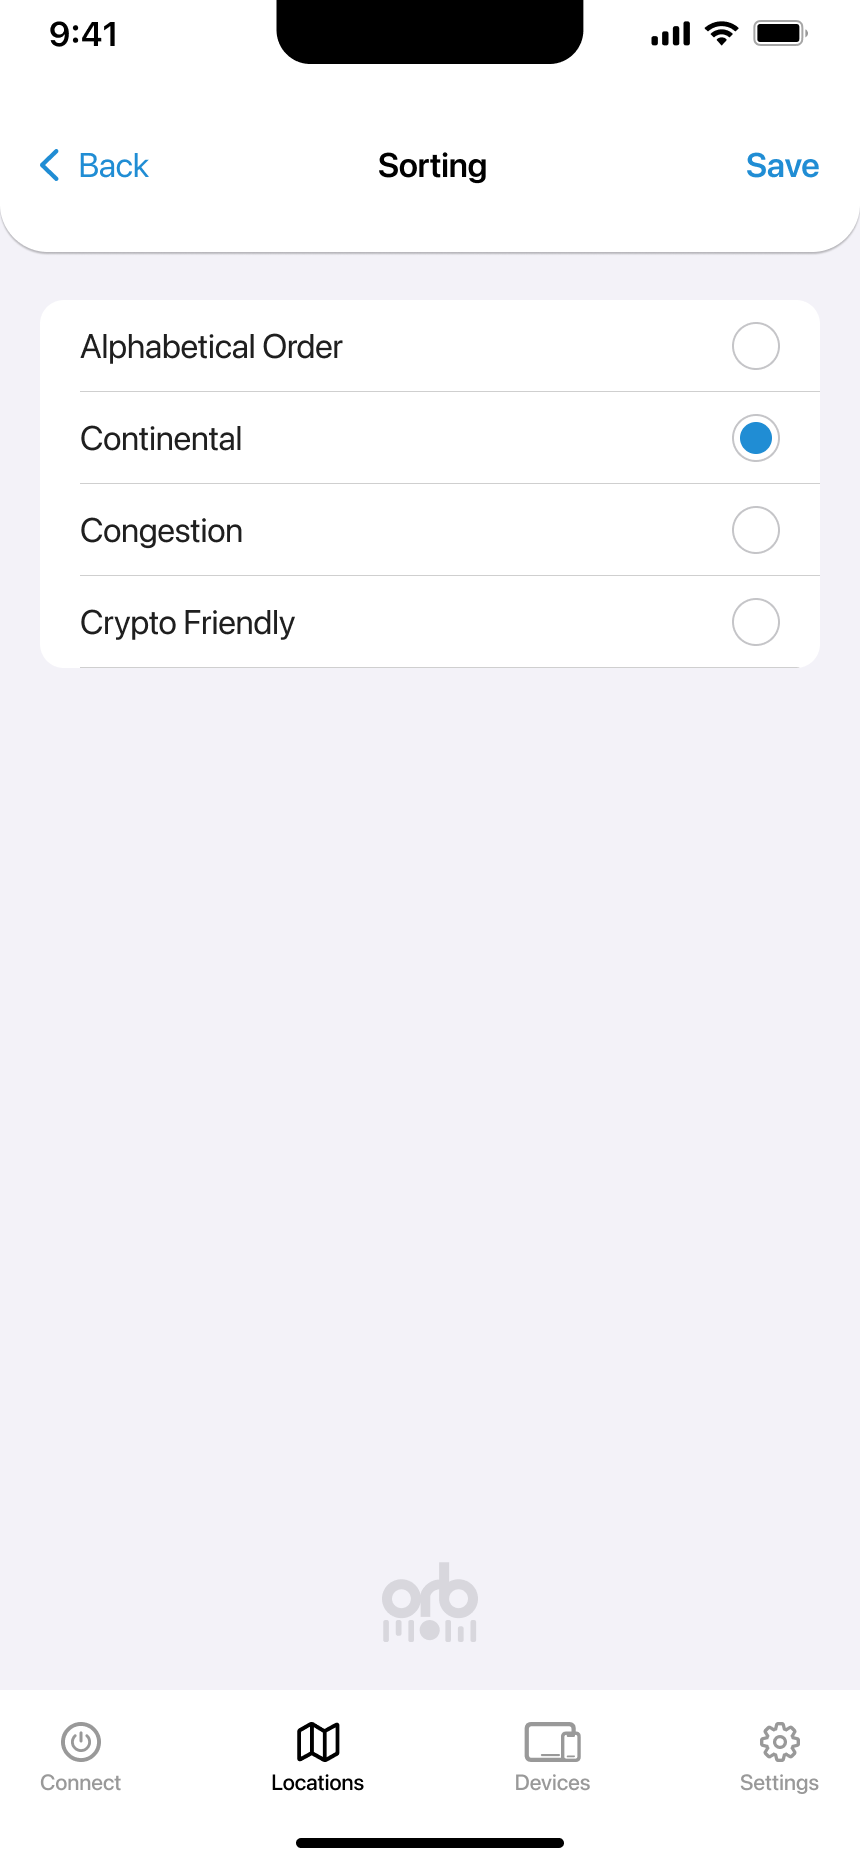
The Sorting screen allows you to organize the list of locations based on different criteria to suit your preferences.
Components of the Sorting Screen
-
Back Button:
- Back: Tap to return to the previous screen.
-
Sorting Options:
- Alphabetical Order: Sort locations alphabetically.
- Continental: Group locations by continent.
- Congestion: Sort by server congestion levels.
- Crypto Friendly: Filter locations that are crypto-friendly.
-
Save Button:
- Save: Tap to apply the selected sorting option and return to the locations list.
How to Use the Sorting Screen
-
Choose Sorting Option:
- Tap on the sorting option you prefer:
- Alphabetical Order: Sorts locations from A to Z.
- Continental: Groups locations by continent (e.g., Europe, Asia).
- Congestion: Sorts by server congestion, helping you find less crowded servers.
- Crypto Friendly: Filters for locations that support cryptocurrency activities.
- Tap on the sorting option you prefer:
-
Apply Sorting:
- Tap Save to apply your chosen sorting method and return to the Locations screen with the updated list.
-
Navigate Back:
- Tap Back if you decide not to apply any changes and want to return to the previous screen.
Troubleshooting
-
Locations Not Updating:
- Ensure you have a stable internet connection. If the refresh button doesn't update the list, try restarting the app.
-
Sorting Issues:
- If sorting doesn’t appear to work, double-check your sorting criteria or restart the app.
-
Missing Locations:
- Use the refresh button to ensure you have the latest list of servers. If a location is still missing, it may have been temporarily removed from the server list.